

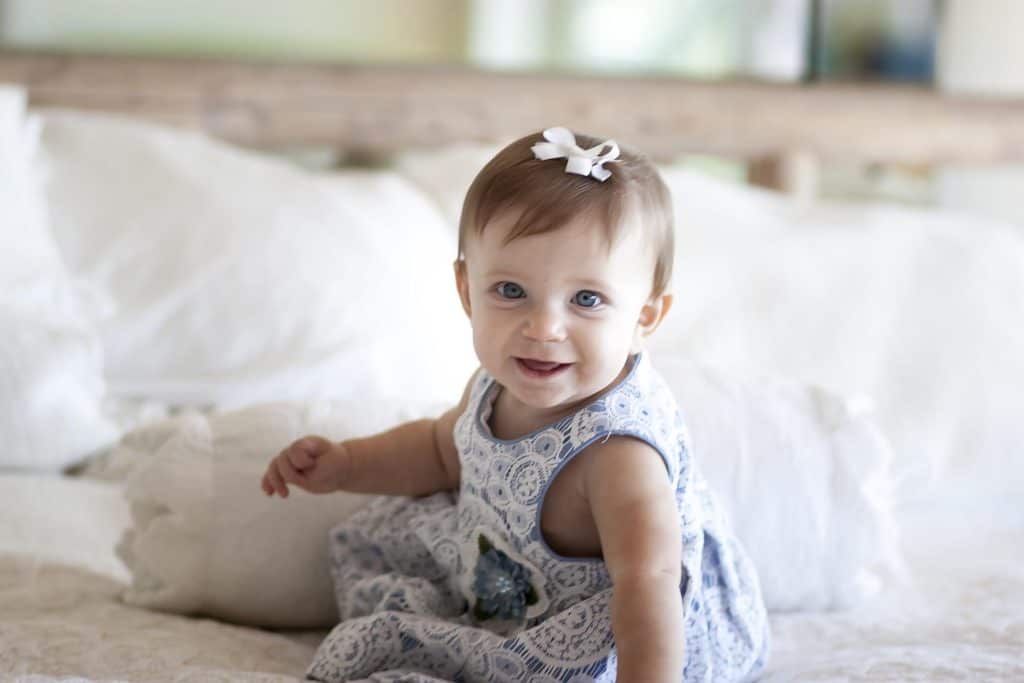
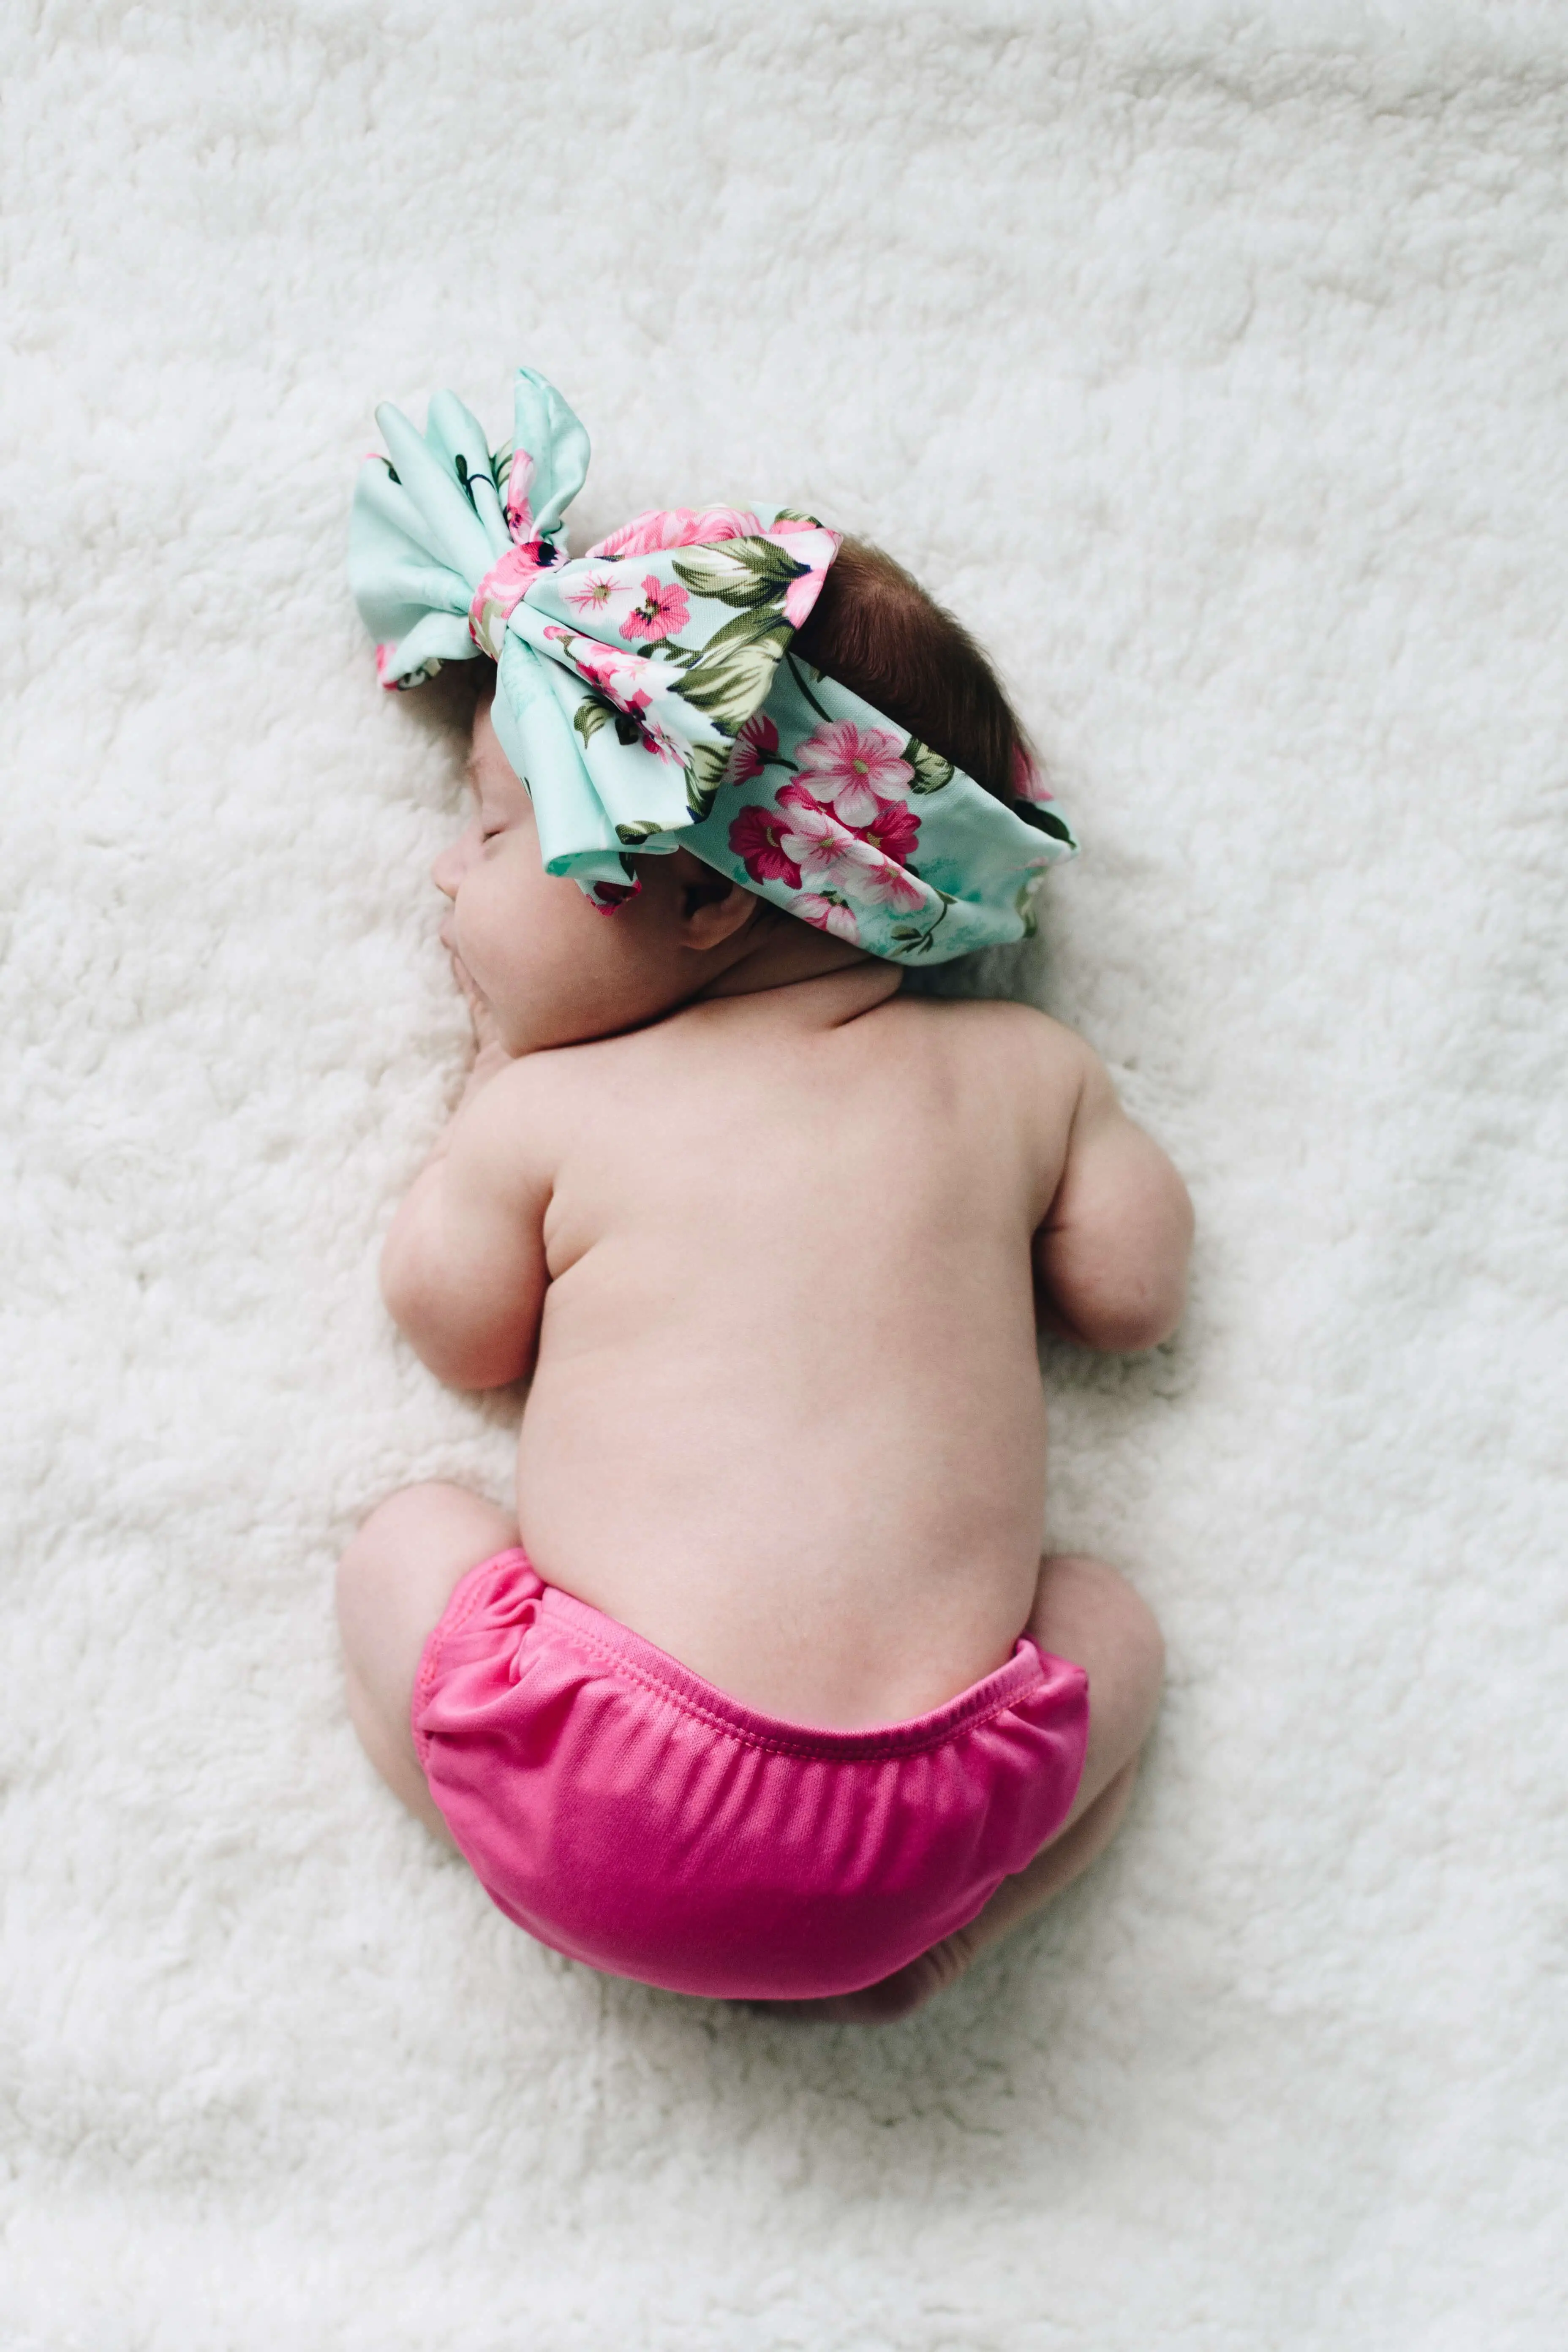
Babies and little ones always look oh so cute, no matter what they do. But they look even cuter when they have those little bows on their heads or in their hair.
Baby bows are also the perfect solution if you have an event that you need to take your little one to, and you want to dress them up a little bit.
The good news is that you don’t have to fork out or spend money buying bows and little wraps to put around their heads. You can actually make your own! It’s simple and so easy to do.
With our guide, you can learn how to make your own baby bows to clip into your little one’s hair, and bow headbands to wrap around the head.
So, let’s take a look at how you can make the cutest little bows for your baby!
How To Make Clip In Baby Bows
Step One:
To make a clip in baby bow, or baby bow barrettes, you will need to find a small piece of ribbon, fabric, or silk. The choice of fabric is up to you, so pick something in a color that matches one of your baby’s outfits or hair color.
Step Two:
With the ribbon or fabric, the first thing you need to do is cut one 4 to 6-inch long piece, keeping it 1.5 inches wide.
You can choose either 4 or 6 inches, as this will affect how big the baby bow turns out. For instance, a 4-inch piece will create a 2-inch bow, whereas a 6-inch piece will create a 3-inch bow.
Step Three:
Then, you will need to cut one 4-inch long piece of ⅜ inch wide ribbon, to wrap around the middle of the baby bow.
To cut the pieces of ribbon, we recommend that you measure with a ruler for extra accuracy, and cut with a very sharp pair of fabric scissors for clean lines.
Both pieces of ribbon do not have to be the same patterns, but you should choose ones that work nicely together with colors that compliment each other.
Step Four:
With your pieces cut, it’s time to make the bow. Now, fold the 1.5-inch wide piece of ribbon in half, and match up the short ends of the ribbon to do this.
Then, create a crease along the fold which can act as a guide for gluing the bow together.
Step Five:
Then, apply some hot glue to the crease with a hot glue gun and fold the ends in to create the loops of the bow. Hold for 15 seconds to set the glue on each loop.
Step Six:
Once you have the loops, pinch the bow at the center to fold it in half lengthwise, so that the two edges of the center meet.
Hold in this position for a few seconds to create the fold. Then, add a dot of glue to the fold, and hold it together to make the bow. Again, hold for about 15 seconds to set the glue.
Step Seven:
Repeat this by folding the ribbon back at the center, and using a dot of adhesive to glue it in place. This fold should look like a mirror image of the first fold.
Step Eight:
Now, it is time to wrap the smaller piece of ribbon, the ⅜ of an inch piece around the center of the bow you have just created. To do this, apply a small dot of glue at the back and press one end of the ribbon into it.
Then, wrap it around the center, gluing the other end before cutting off any excess ribbon.
Step Nine:
Finally, it is time to hot glue the bow onto a small, baby barrette. To do this, apply the glue to the barrette and press the back side of the bow onto the clip.
Hold it firmly in place for 15 seconds to set the glue, and you are done!
How To Make Baby Bow Headbands
Step One:
Choose some fabric from a local store, or cut an old dress up. You will need about 4.5 to 5 inches of fabric. You should also measure your baby’s head to see where the best part will be to tie a bow.
To do this, place the fabric around the head and tie a very loose bow/knot.
You can then mark where the knot is going to sit with some safety pins. Remove the bow from your baby after measuring and get ready to start tying!
Step Two:
Once you have tied the knot, you will want to make it tight. The secret to these headbands is a super tight knot that will not come loose.
So, pull at the bunny ear loops as tight as possible, and pull out the loose ends to create the perfect loop size. Repeat this until the knot is as tight as can be, and will not come loose easily.
Step Three:
Then, trim any leftover fabric on the ends that are loose. With the loose ends of your bow, you are going to want to pinch it between the fingers, gathering it up and folding it.
Then, you can find a crease to slip it into on the back of the bow that you made, and hot glue it down and into place.
Make sure it is pressed down flat, and hidden, so you have a perfect bow in the front. Hold it in place for 15 seconds to set the glue, and you’re good to go, with a perfect baby bow to place on your little angel’s head!
This video provides a great visual guide.
Let me know in the comments how your baby bows turned out! Better yet, send me some adorable photos of your little one all dressed up at: [email protected]